After you got the picture opened in Photoshop , you have to duplicate the background . Just drag the layer with your photo onto the Add a new layer button.

OK ! Once you've duplicated the layer with your photo , you have to know what's wrong with your photo . If it's too bright , first select the new duplicated layer you have created , go to the Blending Mode drop down menu , and select Multiply . Wow ! Awesome , right ? If it's way too dark , you have to change the blending mode from normal , to Overlay .
How do you go to the blending mode menu ? It's right on top of your Layer Menu !!
Click the next photo to see where it's located.
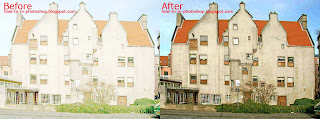
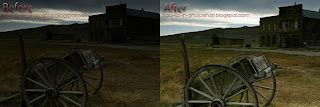
 Here are a few examples of photos edited using this very method
( Please click the images to see them with decent quality )


Well , i hope you liked it ! See you on my next tutorial :)

