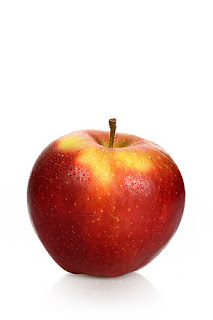
First , let's open this nice apple i found on the net . Right click it and save it somewhere you can remember on your computer.
 How do you open it in Photoshop ?
Just double click the photoshop icon , and once it's done loading and you're in the menu. Just do like i do :

Browse till you find the image , and click Open .
Now that you have it in your Photoshop space , right-click the fourth icon down on your tool bar and after that , left click the Magic Wand . After, just left click once the white space on the photo ( the white background of the apple ).
 Once it's selected you can either drag new images from your Photoshop space on that one , and they will appear only on your selection , or you can use the Brush Tool to paint that area . It's all up to your imagination.


0 comentarii:
Trimiteți un comentariu